
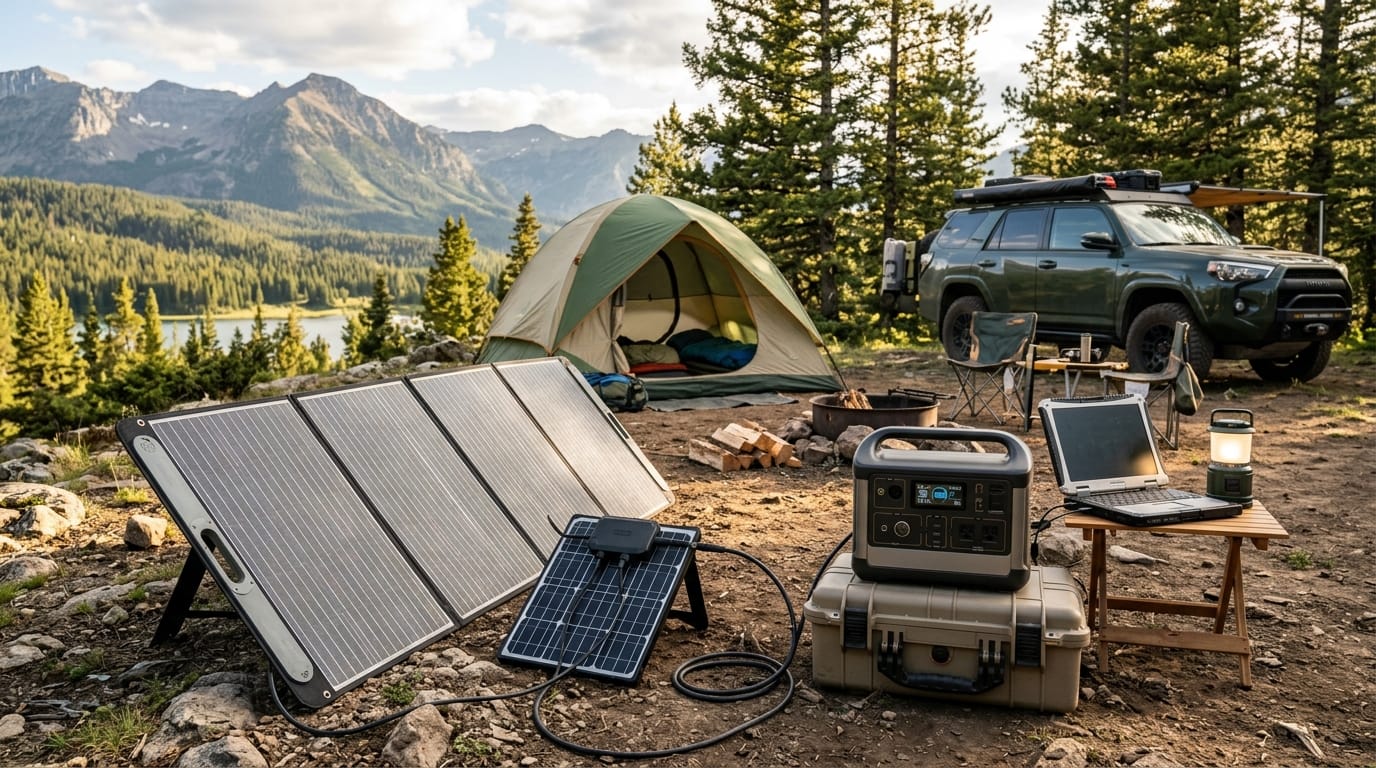
When grid power drops during a severe storm or you are parked deep off-grid for days, a 1,000Wh to 3,000Wh+ portable power station is only as dependable as your ability to replenish it.
Powering a full-sized 12V fridge, medical equipment, power tools, or emergency communication gear drains watt-hours fast. A standard 100W panel delivering 65W to 75W of real-world output will take over two full days of prime sunlight to recharge a depleted 2,000Wh power station.
To keep high-capacity batteries running continuously, high-wattage portable solar panels (200W to 400W+) are no longer optional—they are the baseline requirement. This guide breaks down panel form factors, the critical electrical limits required to protect your power station’s internal charge controller, and top field-tested recommendations available on Amazon.
1. Solar Panel Form Factors: Rigid vs. Semi-Flexible vs. Foldable
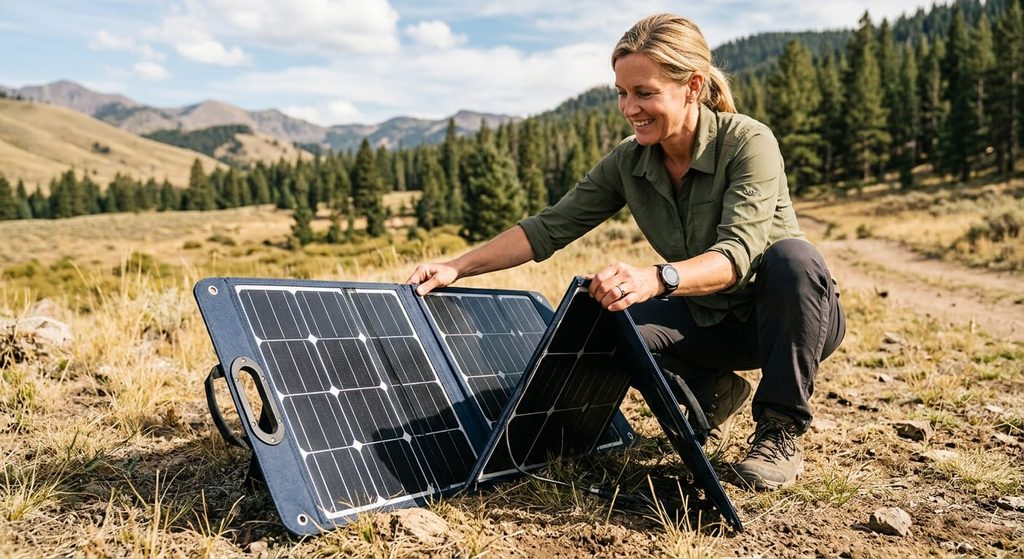
Choosing the right solar array starts with selecting the right build architecture for your deployment style:
| Form Factor | Typical Efficiency | Weight Profile | Durability / Weathering | Best For |
|---|---|---|---|---|
| Foldable Fabric / Blanket Panels | 22% – 25% | 12 – 30 lbs | Moderate (ETFE/EVA fabric degrades under constant rain) | Overlanding, RV trips, quick emergency deployment |
| Rigid Glass / Aluminum Suitcases | 20% – 23% | 30 – 40+ lbs | High (Tempered glass resists hail, wind, long exposure) | Basecamps, stormy climates, long-term home backup |
| Semi-Flexible Panels | 20% – 23% | 4 – 8 lbs | Low to Moderate (Prone to micro-cracks if over-flexed) | Curved camper van roofs, ultra-lightweight DIY rigs |
Foldable Blanket-Style Panels
Engineered from monocrystalline cells laminated with ETFE plastic and stitched into rugged synthetic canvas. They fold into briefcase-sized packages with integrated carrying handles and kickstands.
- Pros: Highly packable; fast deployment; easy to angle toward changing sun positions.
- Cons: Fabric retains heat (reducing thermal efficiency on hot days); lighter builds can blow over in high winds.
Rigid Portable Suitcases
Built using traditional anodized aluminum frames and tempered glass faces hinged together with latches.
- Pros: Maximum heat dissipation; immune to wind flapping; highly resilient against UV degradation and heavy precipitation.
- Cons: Bulky and heavy (often exceeding 35 lbs for a 200W set); difficult to stow in compact vehicles.
Semi-Flexible Panels
Thin-profile panels designed to adhere to van roofs, curved teardrop trailers, or boat decks.
- Pros: Extremely low weight; aerodynamically flush.
- Cons: Lack integrated kickstands; cells suffer thermal penalties when mounted flush without airflow underneath; cells can develop micro-fractures from excessive vibration or flexing.
2. Key Specs to Check Before Buying (Avoid Frying Your MPPT)
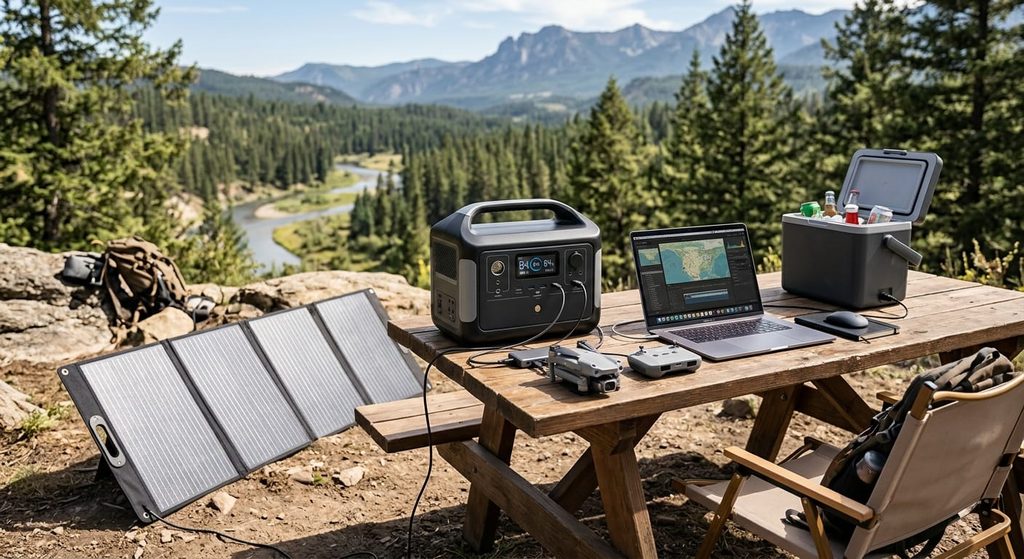
Before connecting any high-wattage panel to your power station, you must match the electrical specifications of the panel to the station’s Maximum Power Point Tracking (MPPT) input controller.
Open-Circuit Voltage (Voc) vs. Maximum Operating Voltage (Vmp)
- Vmp (Voltage at Maximum Power): The working voltage delivered when the panel is under peak load.
- Voc (Open-Circuit Voltage): The maximum voltage the panel outputs when disconnected or before the charge controller engages.
CRITICAL SAFETY RULE: Never exceed the Maximum Solar Input Voltage rating of your power station.
If your power station’s solar input port is rated for 12V–60V DC, and you plug in an array whose total Voc reaches 65V, you risk instantly destroying the MPPT controller. MPPT controllers cannot “clip” or regulate excess voltage—overvoltage causes permanent silicon component breakdown.
The Cold-Weather Voltage Multiplier
Photovoltaic cells produce higher voltage as ambient temperatures drop. A panel rated for 40V Voc at standard test conditions (STC: 25°C / 77°F) can spike to 44V–46V Voc in sub-freezing winter weather. Always leave a 15% to 20% safety buffer below your power station’s maximum voltage threshold.
Current (Imp) and Amperage Over-Paneling
Unlike voltage, MPPT controllers are current-limiting. If your power station specifies a maximum input current of 12A, and your solar array produces 15A, the controller will simply throttle (“clip”) the intake to 12A without damaging the unit. Over-paneling amperage is a standard strategy to maintain peak intake during overcast conditions or low-angle winter sun.
Common Solar Connectors & Adapters
- MC4 Connectors: The global solar standard. Weatherproof, locking, and universal. Highly recommended because they allow you to connect any brand of panel to any power station using inexpensive adapter pigtails.
- XT60 / XT60i: High-current DC connectors found on many modern power stations (e.g., EcoFlow, Anker). XT60i features an extra pin to auto-detect solar vs. car charging limits.
- Anderson Powerpole (APP): Rugged, genderless connectors common on Goal Zero, Bluetti, and DIY ham radio/emergency rigs.
- DC8020 / DC7909: Barrel-style proprietary or semi-proprietary connectors (common on Jackery and older Bluetti units). Require strain relief to avoid damaging the station’s female port.
3. Top Amazon Recommendations by Category
Category 1: The High-Efficiency 400W Heavyweight
EcoFlow 400W Portable Solar Panel
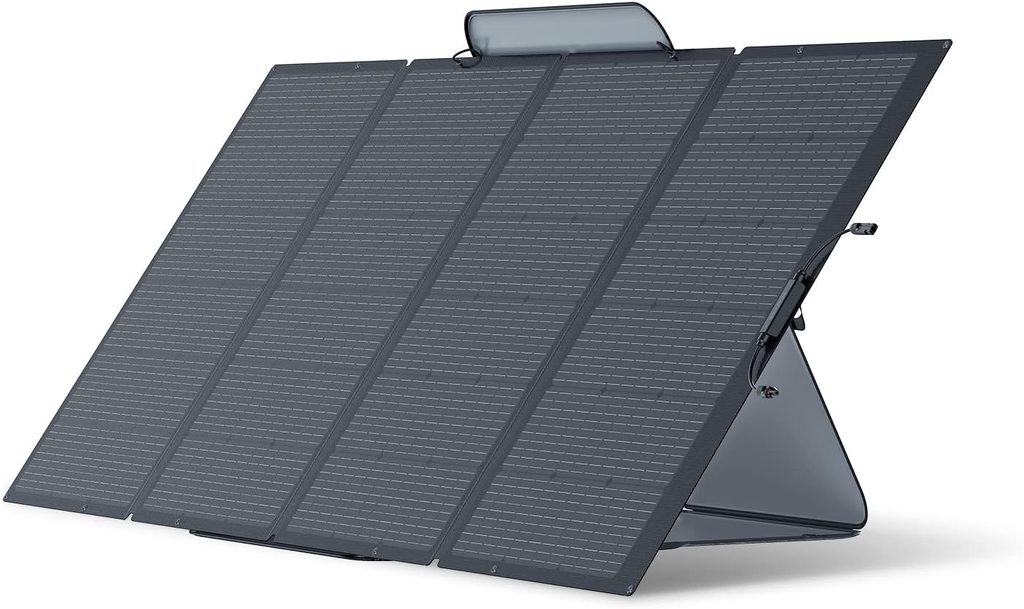
- Rated Output: 400W (Monocrystalline TOPCon cells)
- Open-Circuit Voltage (Voc): 39.3V
- Current at Max Power (Imp): 11.7A
- Weight: ~22.5 lbs (10.2 kg)
- Ingress Protection: IP68
- Connector Type: MC4 output (adapters to XT60i commonly bundled or available separately)
Field Performance & Real-World Utility: EcoFlow’s modern 400W folding panel delivers roughly 320W to 355W in clear direct sunlight. It features high-grade N-Type TOPCon cells housed in a one-piece folding design with an IP68 waterproof rating. The carrying case doubles as an adjustable kickstand with angle markings for 30°, 45°, and 60° inclination.
- Pros: High single-panel output eliminates complicated multi-panel wiring; Voc of ~39.3V allows connection to most mid-to-large power stations rated for 50V–60V inputs without exceeding voltage thresholds; IP68 construction handles sudden downpours and blowing dust.
- Cons: Large footprint when fully unfolded (over 8 feet wide); requires two people or careful handling in windy terrain; case-as-kickstand setup requires patience to align compared to dedicated rigid legs.
Category 2: The Best Balance of Power and Portability (300W–350W)
Bluetti PV350 Foldable Solar Panel
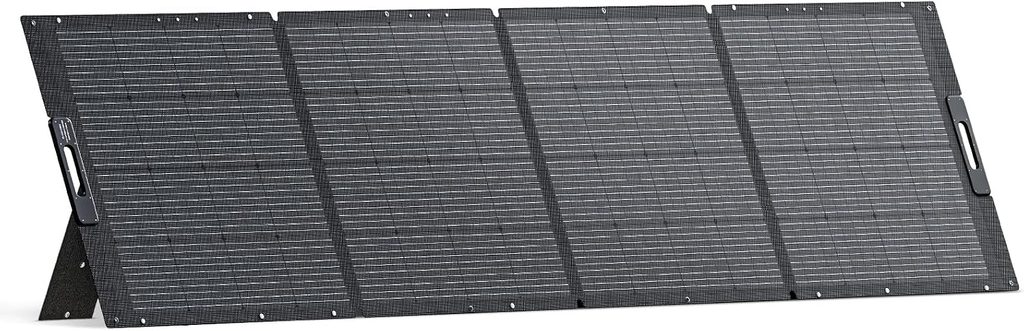
- Rated Output: 350W
- Open-Circuit Voltage (Voc): 46.5V
- Current at Max Power (Imp): 9.2A
- Weight: 30.6 lbs (13.9 kg)
- Ingress Protection: IP65
- Connector Type: Standard MC4
Field Performance & Real-World Utility: The Bluetti PV350 strikes an effective middle ground for overlanders who need over 280W of sustained real-world input without the massive dimensions of a 400W panel. Built with long-lasting ETFE coating, it resists surface scratching and chalking.
- Pros: Direct MC4 output cables connect easily to any third-party power station cable; 4 integrated fold-out kickstands provide sturdy ground contact; solid performance in partial haze and indirect morning light.
- Cons: At 46.5V Voc, you must verify your power station accepts at least 50V–60V DC input; at over 30 lbs, it is heavy for a fabric folding panel.
Category 3: The Ultra-Portable 200W Quick-Deploy Workhorse
Jackery SolarSaga 200W
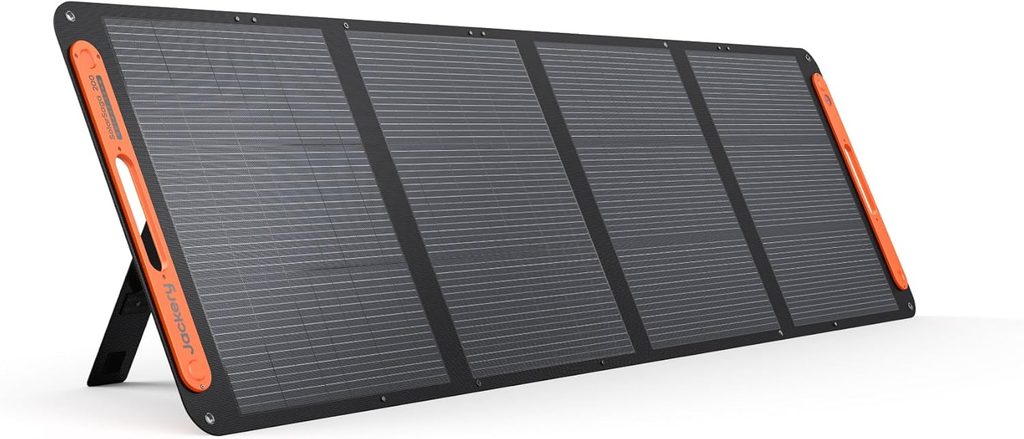
- Rated Output: 200W
- Open-Circuit Voltage (Voc): 23.2V
- Current at Max Power (Imp): 11.1A
- Weight: 17.5 lbs (8.0 kg)
- Ingress Protection: IP67
- Connector Type: Attached 9.8ft cable terminating in DC8020 (MC4 / Anderson adapters required for non-Jackery stations)
Field Performance & Real-World Utility: For quick deployments, perimeter bug-out camps, or tailgate use, the Jackery SolarSaga 200W is among the fastest panels to unfold and position. In field tests, it routinely pulls 160W to 175W under direct overhead sun.
- Pros: Fast magnetic-clasp setup; easy single-person handling; low Voc (23.2V) makes it safe for virtually every 1,000Wh+ station on the market; ETFE lamination withstands sudden rain squalls and damp morning dew.
- Cons: Comes hardwired with a barrel connector; requires an adapter to convert to MC4 or XT60 for universal setups; higher cost-per-watt ratio compared to generic brands.
Category 4: The Rugged Basecamp Heavyweight
Renogy 200W Foldable Monocrystalline Solar Suitcase
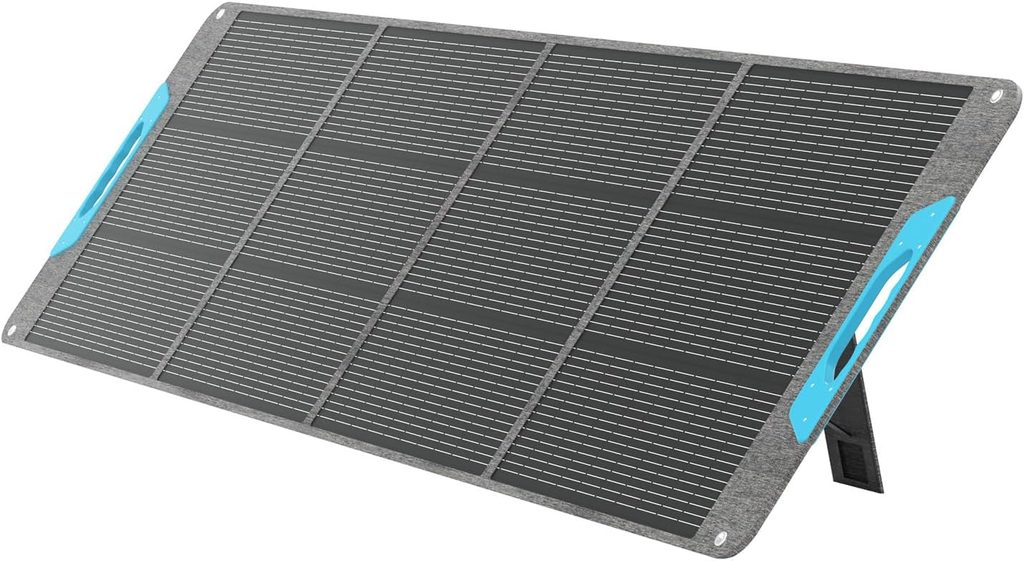
- Rated Output: 200W (dual 100W hinged panels)
- Open-Circuit Voltage (Voc): 21.8V
- Current at Max Power (Imp): 10.5A
- Weight: 35.9 lbs (16.3 kg)
- Build Architecture: Anodized aluminum frame, tempered glass face, adjustable steel kickstands
- Connector Type: Standard MC4
Field Performance & Real-World Utility: When preparing for hurricanes, ice storms, or multi-week off-grid basecamp stays where panels will sit outside continuously, soft fabric panels degrade faster. The Renogy 200W Suitcase utilizes rigid tempered glass panels with reinforced corner guards and heavy-duty latches.
- Pros: Excellent weather endurance; can remain outdoors in sustained rain, freezing drizzle, or high winds; superior passive cooling compared to fabric blankets, maintaining higher wattages on hot 90°F+ summer afternoons; universal MC4 connections straight out of the box.
- Cons: Heavy (nearly 36 lbs) and rigid; takes up substantial trunk or bed space; handle and latches require basic maintenance to prevent rust in coastal environments.
4. Parallel vs. Series Connections: Maximizing Solar Intake Safely
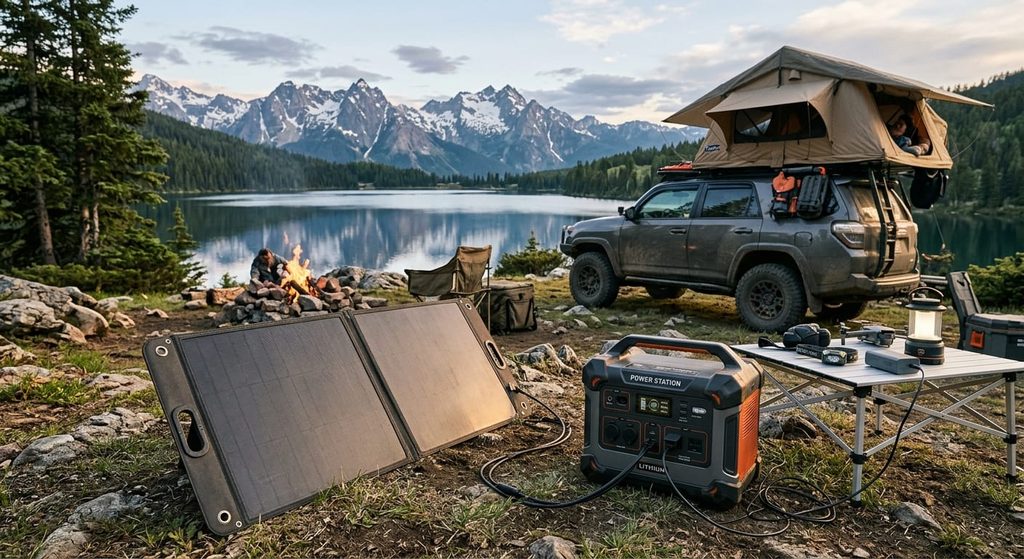
When one panel isn’t enough to max out your power station’s input wattage, combining two or more panels is the next step.
SERIES WIRING (Voltage Adds, Current Stays Same):
[Panel 1 (+)] ---> [(-) Panel 2 (+)] ---> Power Station (+)
[Panel 1 (-)] --------------------------> Power Station (-)
Result: 2x Voltage | 1x Current

PARALLEL WIRING (Current Adds, Voltage Stays Same):
[Panel 1 (+)] ---\   /---> Power Station (+)
[Panel 2 (+)] --- (Y-Branch)
[Panel 1 (-)] ---\   /---> Power Station (-)
[Panel 2 (-)] --- (Y-Branch)
Result: 1x Voltage | 2x Current
1. Wiring in Series (Daisy-Chaining)
- How It Works: Connect the positive (+) lead of Panel 1 to the negative (-) lead of Panel 2. The remaining free leads plug into your power station.
- The Math: Voltage adds up; amperage stays constant.
Example: Two 200W panels with 20V Vmp and 10A Imp. Total output = 40V at 10A (400W).
- The Math: Voltage adds up; amperage stays constant.
- When to Use: When your power station has a high voltage ceiling (e.g., 60V–150V DC) and lower max amperage (e.g., 12A–15A).
- The Catch: If one panel in a series string is shaded by a tree branch or building corner, current drops across the entire string, significantly cutting total output.
2. Wiring in Parallel (Using Y-Branch Combiners)
- How It Works: Connect both positive (+) leads together using an MC4 Y-branch connector, and both negative (-) leads together into a second branch connector.
- The Math: Amperage adds up; voltage stays constant.
Example: Two 200W panels with 20V Vmp and 10A Imp. Total output = 20V at 20A (400W).
- The Math: Amperage adds up; voltage stays constant.
- When to Use: When your power station has a low voltage limit (e.g., 30V or 50V max), or when setting up in areas with partial, shifting shade.
- The Catch: Higher currents require thicker gauge wiring (10 AWG or 8 AWG) to minimize line
Essential Gear for Parallel Solar Wiring
To safely daisy-chain panels in parallel and route high amperage back to your power station without overheating your cables or tripping your controller, keep these two hardware essentials in your kit:
1. Heavy-Duty MC4 Y-Branch Parallel Connectors (Pair)
These IP67/IP68 waterproof branch splitters (1 M/FF and 1 F/MM) join two positive leads and two negative leads from separate panels into a single pair. They double your array’s charging amperage while locking voltage to a safe level for low-input MPPT controllers.
2. 10 AWG Pure Copper Solar Extension Cable
Because parallel connections double the current flowing through your mainline, thin 14 or 12 AWG wires can suffer significant resistance and heat buildup. Heavy-duty 10 AWG UV-resistant pure copper cables keep line loss minimal over longer distances between your solar array and your power station.
5. Summary & Field Checklist
Building a reliable off-grid charging setup comes down to three operational checks:
- Calculate your battery replenishment timeline: Aim for solar wattage equal to at least 25% to 35% of your battery’s total capacity (e.g., a 2,000Wh station pairs best with 500W–800W of solar input).
- Double-check the Voc threshold: Confirm the sum of open-circuit voltages (including cold-weather margin) stays safely within your power station’s input specifications.
- Equip universal MC4 adapters: Avoid locking yourself into single-brand ecosystems by keeping heavy-gauge MC4-to-XT60 and MC4-to-Anderson cables in your kit.
Pairing your high-capacity power station with the right solar array ensures true energy independence when the grid goes down. Explore our related field tests, solar generator load testing, and battery teardowns across Off Grid Watts.
If you are assembling an emergency backup kit to protect perishables and temperature-sensitive medications during a multi-day storm, check out our guide on 5 Proven Ways to Run a 12V Fridge on Solar in a Blackout. If you are matching high-wattage panels with a fast-charging 1kWh home and overlanding unit, be sure to read our hands-on analysis of the Anker SOLIX C1000 Gen 2 and our ultra-portable breakdown of the EcoFlow RIVER 2.
Comments
One response to “How to Safely Charge Power Stations: 4 Best Solar Panels”
-
[…] continue optimizing your emergency energy strategy, be sure to explore our companion guides on Choosing the Best Portable Solar Panels for rapid off-grid recharging, examine 3 Simple Ways to Build a Reliable $300 Blackout Kit, and […]
Leave a Reply